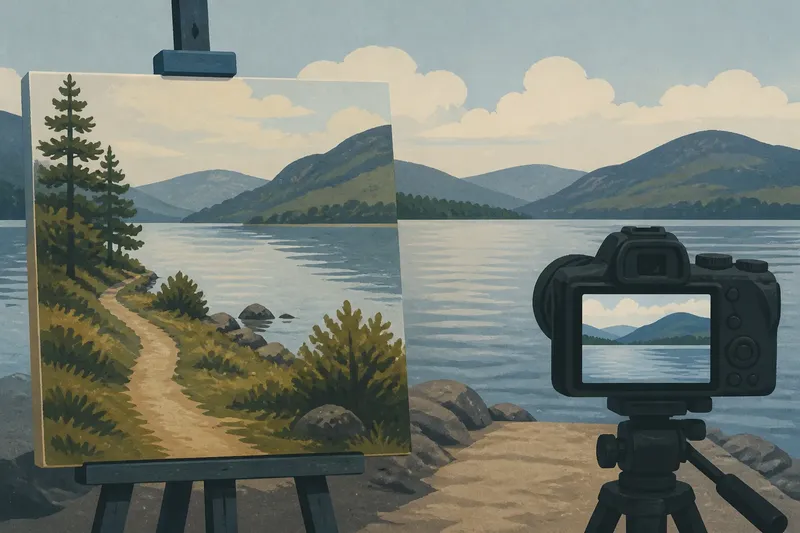
A Cloudy Afternoon at the Water’s Edge
Cloudy afternoon lake photography can reveal subtle color and texture. Learn to read overcast light and choose a frame that makes those details clear.
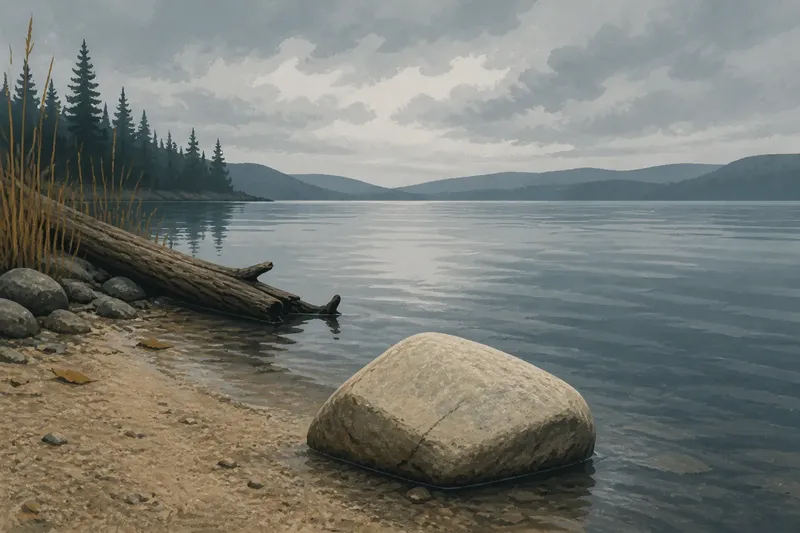
You reach the lake under a sheet of cloud, and the water looks dull through the camera screen. Cloudy afternoon lake photography can still show the quiet colors and textures that direct sun tends to overpower. Start by noticing what the soft light reveals on surfaces, not by searching for a bright patch.
What does overcast light reveal?
Clouds diffuse sunlight, softening hard shadows and reducing sharp contrast. That can make the color and surface of wet wood, stones, reeds, and water easier to read. Look for differences in tone rather than expecting a strong highlight-and-shadow pattern.
Scan a nearby surface, then compare it with the same material farther along the bank. Wet sand may appear darker and smoother than dry sand; a pale stone may stand apart from damp bark. These modest contrasts can give the frame its subject.
Overcast light is not always uniform. A thin cloud can brighten one part of the scene, while a thicker bank dims another. Watch whether that shift changes the appearance of a surface or reflection. If it does, decide whether the change helps clarify your subject or pulls attention away from it.
How can you judge the color of the light?
Clouds can make a scene appear cool, but the camera’s automatic white balance may interpret the color differently from your eyes. Check the screen for familiar neutral objects, such as gray stone or weathered wood, while remembering that those materials may have their own color.
If you shoot JPEG, try a cloudy white-balance preset when the preview looks too blue. If you shoot RAW, you can choose a different white balance later, but the screen preview still helps you judge the composition. Keep the setting that preserves the quiet mood without making pale surfaces look unnaturally warm.
Compare a frame with the camera’s automatic white balance to one with a cloudy preset. Look at the water, stones, and vegetation together rather than judging the sky alone. The better choice is the one that keeps the scene’s colors plausible and the focal detail distinct.
How should you expose a pale sky and darker water?
A bright overcast sky can look nearly white beside a darker lake. Check the camera’s preview and highlight warning, if available. If cloud texture disappears, point the camera slightly away from the brightest part of the sky or use exposure compensation to darken the preview a little, then inspect it again.
If you frame mostly water and shoreline, the camera may brighten the scene to account for the darker view. Check whether pale stones or reflected cloud lose their detail. Adjust exposure only in small increments and compare the screen after each change; retain the version that keeps the important texture visible.
For a still scene, a single exposure is usually the simplest place to begin. If the difference between sky and water is too strong to hold detail in both, choose which area matters more to the picture. A graduated neutral-density filter can reduce sky brightness in-camera, but it may darken shoreline features that cross the horizon, so inspect the result carefully.
How can you make a cloudy-light frame?
Build the composition around a surface or color that soft light makes legible. A pale stone against dark water, the grain of a wet log, or muted reeds reflected on the lake can all work. Move your feet to separate the detail from nearby shapes, then check whether the soft light still gives it enough contrast.
Say you find a dark, waterlogged branch beside a light strip of sand. You shift sideways until the branch no longer overlaps a dark patch of lake, then lower the camera so the sand and branch fill more of the frame. The expected result is a clearer separation between the two textures; if the branch still blends into the water, choose a lighter shoreline detail instead.
Use the screen or viewfinder to compare how the light falls on the subject, not simply how much sky or water fits. If a surface looks flat from your position, move along the bank and check whether its texture becomes more visible. Return to the first spot if the change adds no useful separation.
What questions help with overcast lake photography?
Should I use a polarizing filter?
A polarizer can reduce some reflections on water and wet leaves, making color or surface detail easier to see. Rotate it while looking through the viewfinder or at the screen, and keep the setting that supports your subject rather than removing every reflection.
Why does the lake look brighter than it did in person?
The camera’s exposure system may render a large, dark area of water brighter than you remember. Check the preview and use exposure compensation in small adjustments if the water loses its intended tone, while watching for detail disappearing from pale clouds.
Is soft light always better for shoreline details?
No. Diffuse light can reveal gentle color transitions, but it can also make similar surfaces blend together. If the subject lacks separation, change your angle or choose a detail with a different tone or texture.
What if the sky has no visible cloud texture?
Leave most of it out unless its brightness helps describe a reflection or the atmosphere. Turn toward the shoreline and use the soft light on wood, stones, or vegetation as the main subject instead.
What should you check before pressing the shutter?
- Cloud texture: If the preview shows distinct cloud detail, include some sky; if it is featureless, lower the framing and emphasize the shoreline or water.
- Surface color: If wet sand, wood, or stone has a clear color difference from its surroundings, build the frame around it; if not, look for a more distinct surface.
- Highlight detail: If pale clouds retain texture, keep the exposure; if they turn blank, reduce exposure slightly or exclude the brightest sky.
- Water reflection: If reflection adds a useful tone or shape, preserve it; if glare hides the subject, change your angle or rotate a polarizer.
- White balance: If a neutral-looking surface appears strongly blue or yellow on the preview, compare automatic and cloudy presets; choose the one that keeps the scene plausible.
- Subject separation: If the shoreline detail merges with the lake or bank, move sideways or select another detail; if its outline reads clearly, keep the position.
Imagine you are photographing a pale stone beside a dark lake on a cloudy afternoon. The starting point is a view in which the stone blends into a bright reflection and the sky has no visible texture. You first turn the camera toward a darker section of water; the stone’s edge becomes easier to see. You then lower the frame to exclude the blank sky and compare automatic white balance with the cloudy preset. If the latter makes the stone look too yellow, keep automatic white balance; the resulting frame gives the stone a clear outline without adding an unnatural color cast. The tradeoff is a tighter view with less sense of the weather above the lake.
When should you change your position?
Move when the light makes the subject harder to read, not just because the cloud cover feels uneventful. A short shift along the bank can change how a reflection meets a stone or whether a wet branch stands out against the water. Check the screen after each move and keep the position that gives the subject the clearest tonal separation.
Before leaving, look once more at the surfaces around you. Overcast light may be most useful on a small patch of sand or a muted reflection rather than across the whole lake. That observation can help you choose a subject for cloudy afternoon lake photography the next time a bright sky seems to offer nothing.